
The following method we refer to as the Top Hinge Method.
1. Make sure that the surface that you will be applying the decal to is clean and completely dry. Click here to see which glass cleaner we recommend.
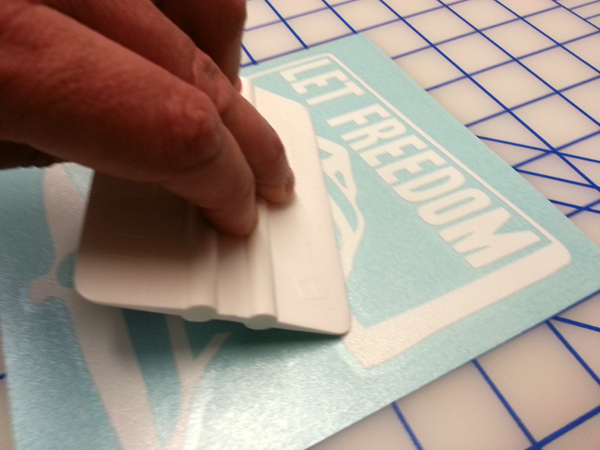
2. Using either a squeegee (burnisher) or credit card rub over the clear transfer tape to ensure decal will transfer.
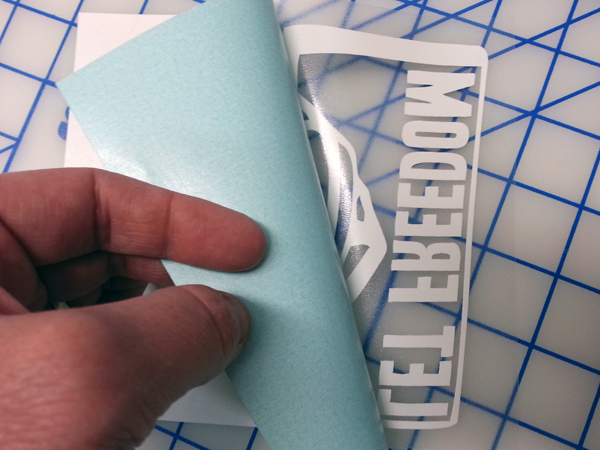
3. Turn the decal over and peel away the backing paper (wax-like-paper). Make sure the design stays on the transfer tape (which is the top layer) and does not stick to the backing paper. **In lieu of step 3 and 4 you can use a strip of painters tape to act as the hinge.**
4. Re-apply the backing paper so that an inch or two of transfer tape exposed on the top. **In leu of step 3 and 4 you can use a strip of painters tape to act as the hinge.**
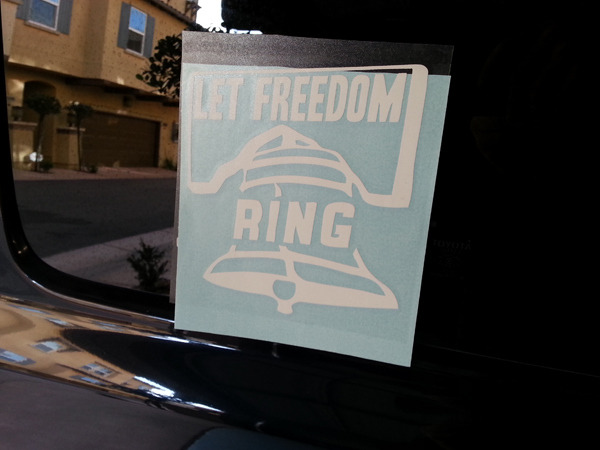
5. Align the decal so that it is in the exact location you would like it on the glass. Use the top strip of transfer tape to hold the decal in place. (Or painters tape.)
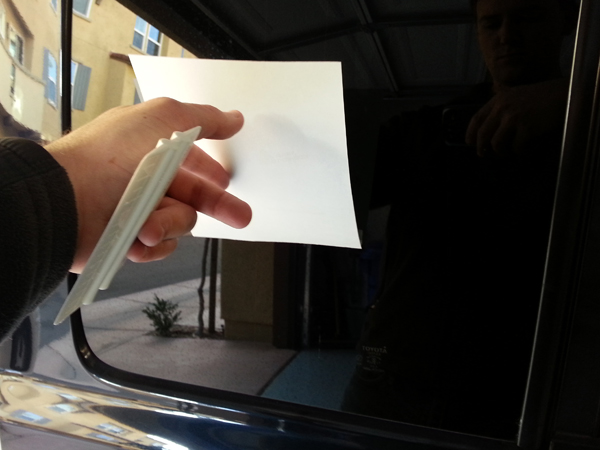
6. Flip the decal up and start to pull the backing paper down.
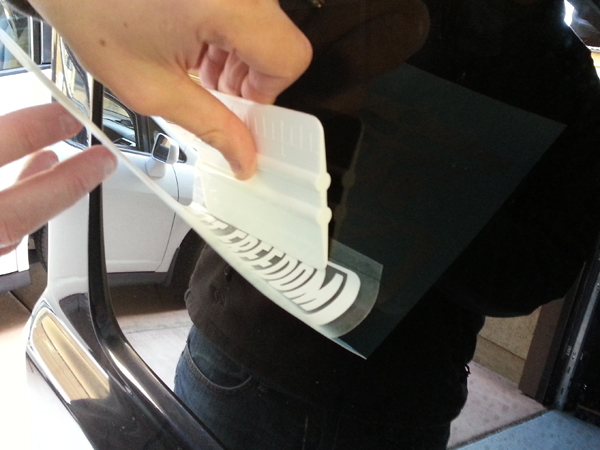
7. While you pull use a burnisher to press the decal onto your application surface. Slide the burnisher down while you pull down on the backing paper. Work from the top down and center out. Once the decal is on, rub over the design to ensure it is securely applied.
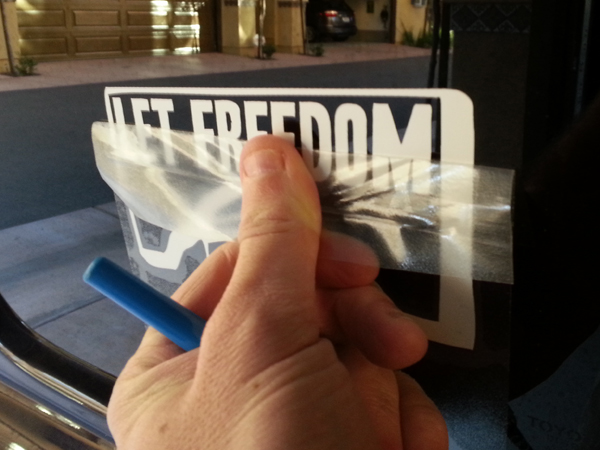
8. Remove clear transfer tape by carefully pulling at a 180 angle. If the design begins to pull up with the transfer tape, it has not been applied firmly enough; using your squeegee (burnisher), go back over the design again with firm overlapping strokes then once again attempt to remove the transfer tape. Do not pull out when removing the transfer tape. Pull directly down. Slowly and evenly.
You may also be interest in the following Articles: